

BluCube
BluCube Universal Fire & Acoustic Speaker Hood
BluCube Universal Fire & Acoustic Speaker Hood
Couldn't load pickup availability
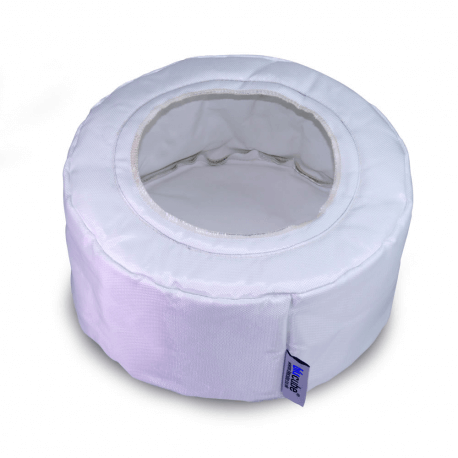
The (Patent Pending) BluCube Universal Fire and acoustic speaker hood is just that – a fire hood that also performs as an effective acoustic barrier to sound leakage from behind an in-ceiling speaker. Building regulations state that if you cut an aperture in the ceiling of a room, for instance to fit an in-ceiling speaker, you must ensure that the fire integrity of the ceiling is maintained.
Tested and assessed by Warrington Fire, a renowned and accredited UK testing facility, to British Standard 476 Part 21 in a standard domestic timber-joist and plasterboard ceiling, the BluCube Universal Fire Hood comfortably performed to such requirements.
Featuring a double-skin of intumescent fabric sandwiching a fire-proof foam and with a uniquely designed internal flange providing easy-installation, improved fire and acoustic absorbing performance and protection of the speaker from dust ingress, the BluCube UFH01 is a must for every installation. Plus, its one-size-fits-(nearly)-all design means it’s likely to be the only hood you need.

Features
Easy Installation: Fixed with mastic, sealant, or double-sided tape; secured by speaker dogs.
Improved Airtightness: Offers enhanced fire protection and acoustic absorption.
Versatile Sizing: Fits both 6.5" and 8" speakers; can be customized for larger ones.
Dust Protection: Sealed design reduces dust accumulation on the speaker's back.
Fire-Retardant Features: Intumescent twin-skinned design with fire-retardant damping foam.
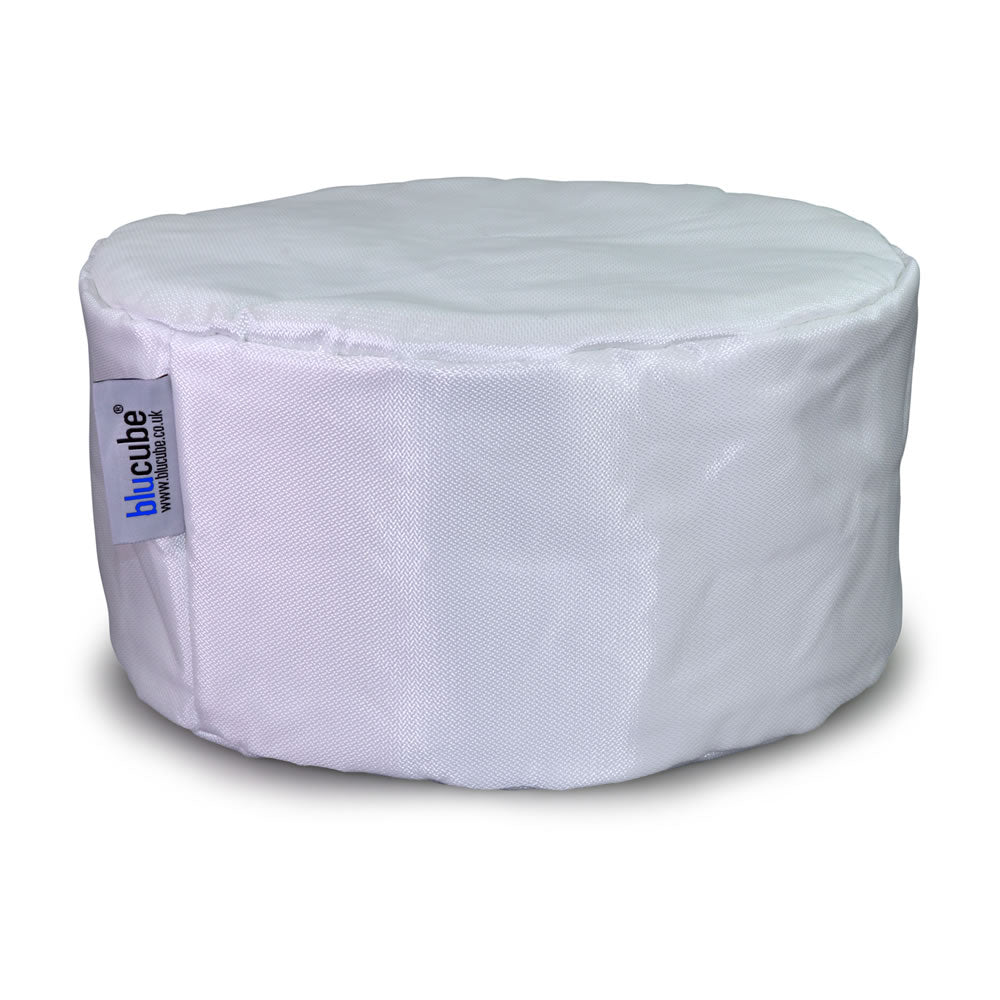
Durable Material: Woven glass fiber material with fire-retardant stitching.

Specifications
Internal Depth:
150mm Internal
Diameter:
310mm Aperture
Diameter (and Diameter to Seem):
190mm (240mm)
External Depth:
160mm
External Diameter:
340mm Weight200g
Frequently Asked Questions
How is it one size fits all?
The majority of ceiling speakers have cut-out apertures ranging in diameter from 200-250mm. The aperture of the BluCube Hood as delivered is 200mm but it can be enlarged by simply cutting the fabric. A guide is marked on the flange which is the typical diameter of an 8-inch driver speaker. There is a sewn seam to keep the fabric neat. It is preferable to avoid cutting this seam. If however, the hood needs to be cut to fit a speaker located close to a joist, it may be necessary, on occasion to cut the aperture offset from centre to accommodate the location. This is easily achieved and does not affect the performance of the hood. Please check our installation video for more details.
Why is the inner flange better?
Firstly, it makes the hood easier to fit but, more importantly, it performs significantly better because it is possible to create a much more effective seal. Speakers are fitted from beneath the ceiling not from above. The inner flange means that the flange can be easily fixed to the upper surface of the ceiling plasterboard because the flange is accessible from inside the hood. An external flange is not, and is thus impossible to seal effectively. An effective seal means that way the fire protection performance is maximised, as is the acoustic performance. Even a small gap under the flange weakens both of these aspects considerably. Dust ingress is also minimised thus protecting the speaker better too. The inner-flange makes the hood adaptable to many types and sizes of in-ceiling speaker. It also allows for offsetting the aperture where a speaker aperture may be close to a joist. Finally the inner-flange means that the speakers fixings (often referred to as “swing-dogs”) clamp the fabric of the hood to the upper surface of the ceiling making for a much better fit.
What if my joist height is low?
The BluCube hood is compressible without affecting its performance. Providing your speaker itself has sufficient clearance, you only need 2-3mm additional clearance to accommodate the fabric of the hood. Although the extended height of the hood can accommodate speakers with a depth of up to 200mm, it can be compressed to comfortably accommodate speakers with a smaller depth requirement. In short, the hood will fit almost any depth of speaker typically used in ceilings.
What if my speaker aperture is close to a joist?
In an ideal world all speakers would be central to the joists. This is very often not the case. Provided that the speaker itself can fit in the aperture and the speaker’s fixings to do not foul on the joist you should be able to also accommodate a BluCube hood. There are two ways to do this. The first is simply to scrunch the fabric of the hood against the joist so that the speaker will fit. This will not affect the performance of the hood or speaker. If the aperture is too close to the joist to allow this then the second approach is to cut the fabric of the hood to create an offset (elliptical) aperture. Again, this will not affect the performance of the hood. In this case it may be necessary cut through the sewn seam on the flange and this will expose some of the foam. You may need to then glue this back in place. Because the aperture of the hood flange is now enlarged and offset it may be that only some of the speaker fixings clamp the flange the hood fabric. This is perfectly acceptable but it is advised that in this case the flange is firmly affixed to the surface of the plasterboard before fitting the speaker.
How much acoustic absorption is achieved?
BluCube have conducted extensive tests in this area and we estimate the typical sound reduction to be of the order of 2dB following the addition of our hood. This will vary from installation to installation and so this is a guide only.
Installation Instrusctions
- First cut the aperture of the hood to size
- Poke a small hole in the side of the fabric through which you will then thread the speaker wire
- Run a thick, continuous bead of adhesive filler (“Sticks like” GripFill or other such adhesive fillers are suitable) around the upper surface of the plasterboard. The flange of the hood will sit on this bead to create an airtight seal.
- Thread the cable through the hole poked in step 2.
- Scrunch the hood to fit through the aperture and expand the hood so that the flange sits on top of the bead of adhesive filler.
- Compress the hood on to the adhesive filler using your fingers pressing all the way around and ensuring an airtight fit.
- Attach speaker cable to speaker, insert speaker into aperture and tighten speaker’s fixings.